IMU
We used SenseHAT for Raspberry Pi as the inertial measurement unit (IMU).
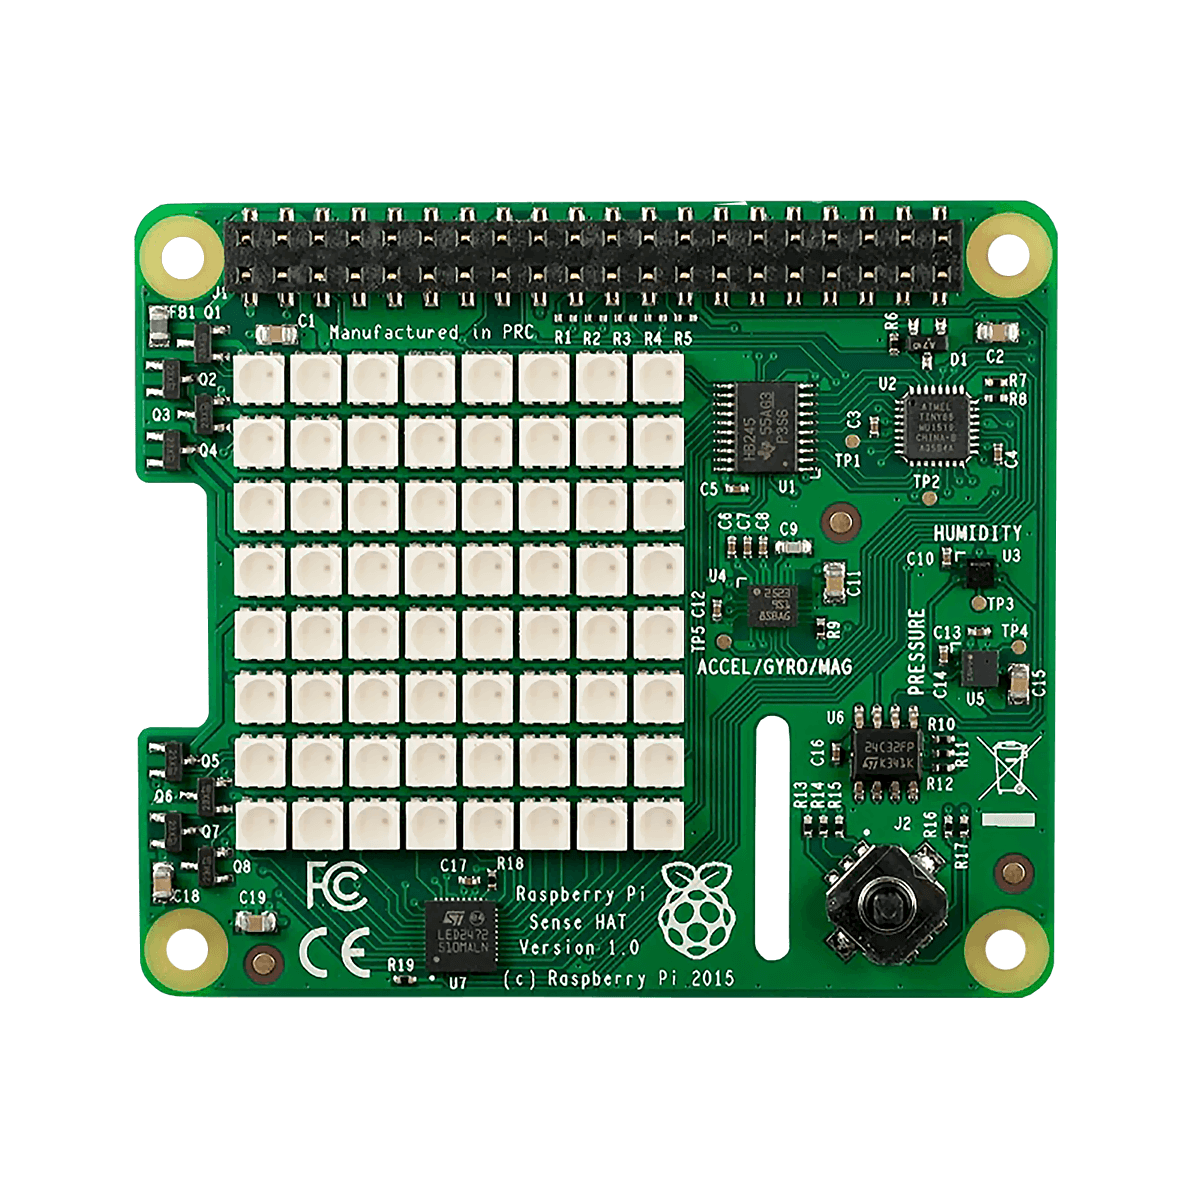
Overview
The Sense HAT has an 8×8 RGB LED matrix and a five-button joystick, and includes the following sensors:
- Gyroscope
- Accelerometer
- Magnetometer
- Temperature
- Barometric pressure
- Humidity
- Colour and brightness
Installation
Assembly
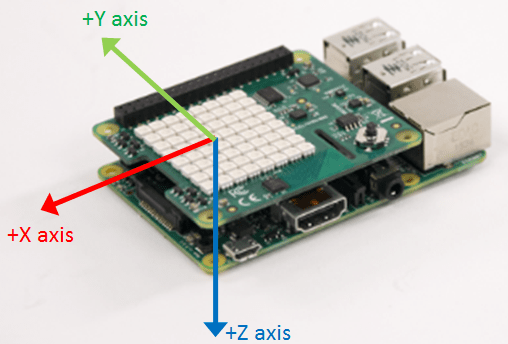
Software & Calibration
For the orientation to properly work, you need to follow all of the calibration instructions here:
- Calibration
- You should perform all steps:
- m: magnetometer with min/max
- e: magnetometer with ellipsoid (do min/max first)
- a: calibrate accelerometers
- You should perform all steps:
Notes
- Widely available models like MPU6050 or MPU9250 should also work, but you'll be responsible for IMU calibration and software integration. This setup should suffice for orientation-only applications. However, for SLAM functionality, recalibration will be necessary, as always.
- Previously, we tried Waveshare MPU9250(C). Perhaps it was the lack of proper calibration or just us, but the orientation was not working properly even with Kalman or Madgwick filters. This is why we decided to try out SenseHAT, which gave us very good results after following the calibration instructions.
- Another great feature of the Sense HAT is its ease of assembly, and the form factor is compact and well-designed.
- Tip: You can ask ChatGPT or other AI tools to give you a cool 8x8 LED animation to play on SenseHAT.
- The sample rate of SenseHAT is mentioned here, quote:
.. According to the 9 axis IMU datasheet (STM LSM9DS1) it should be possible to get a maximum of 1000 Hz sample rate from the 9 axis imu. ..